Home Theme-templates
Theme Templates
Yoolk liquid themes are made up of Liquid template files, each serving their own unique purpose. For example, products/index.liquid is used to display multiple products while products/show.liquid is used to show the details of a single product.
Theme Structure
To generate theme inside your app:
$ rails g instant_website:theme theme_nameA Yoolk liquid theme consists of three folders: assets, locales and views.
assets
The assets folder contains all of the assets used in the theme, including images, stylesheets, javascript files, etc. Use the asset_url filter to reference a theme asset in your templates.
locales
The locales folder provides an easy-to-use and extensible framework for translating your application to a single custom language other than English or for providing multi-language support in your application.
views
The templates folder contains all other Liquid templates, including:
- layouts/theme_name.liquid
- home/index.liquid
- about_us/index.liquid
- announcements/
- brochures/index.liquid
- contact_us/index.liquid
- feedback/index.liquid
- galleries/
- map/index.liquid
- menu/
- people/index.liquid
- products/
- reservation/index.liquid
- services/
Asset Pipeline
The asset pipeline provides a framework to concatenate and minify or compress JavaScript and CSS assets. In production, all your js and css files will be concatenated and minified into a single file.
Manifest files
By default, there are two manifest files: all.js.coffee and all.scss. It contains Sprockets directives - instructions that tell which files to require in order to build a single CSS or JavaScript file for that theme. With these directives, Sprockets loads the files specified, processes them if necessary, concatenates them into one single file and then compresses them. By serving one file rather than many, the load time of pages can be greatly reduced because the browser makes fewer requests. Compression also reduces file size, enabling the browser to download them faster.
Here is the default all.js.coffee file which contains the following lines:
//= require jqueryIn JavaScript files, Sprockets directives begin with //=. In the above case, the file is using the require and the require_tree directives. The require directive is used to tell Sprockets the files you wish to require. Here, you are requiring the files jquery.js that are available somewhere in the search path for Sprockets. You need not supply the extensions explicitly. Sprockets assumes you are requiring a .js file when done from within a .js file.
The require_tree directive tells Sprockets to recursively include all JavaScript files in the specified directory into the output. These paths must be specified relative to the manifest file. You can also use the require_directory directive which includes all JavaScript files only in the directory specified, without recursion.
Directives are processed top to bottom, but the order in which files are included by require_tree is unspecified. You should not rely on any particular order among those. If you need to ensure some particular JavaScript ends up above some other in the concatenated file, require the prerequisite file first in the manifest. Note that the family of require directives prevents files from being included twice in the output.
Here is the default all.scss file which contains the following lines:
/*
*= require_tree .
*/
The directives that work in JavaScript files also work in stylesheets (though obviously including stylesheets rather than JavaScript files). The require_tree directive in a CSS manifest works the same way as the JavaScript one, requiring all stylesheets from the current directory.
In this example, require_self is used. This puts the CSS contained within the file (if any) at the precise location of the require_self call. If require_self is called more than once, only the last call is respected.
If you want to use multiple Sass files, you should generally use the Sass @import rule instead of these Sprockets directives. Using Sprockets directives all Sass files exist within their own scope, making variables or mixins only available within the document they were defined in.
You can have as many manifest files as you need. For example, the admin.css and admin.js manifest could contain the JS and CSS files that are used for the admin section of an application.
The same remarks about ordering made above apply. In particular, you can specify individual files and they are compiled in the order specified. For example, you might concatenate three CSS files together this way:
/*
*= require reset
*= require layout
*= require chrome
*/
These two manifest files are included inside your layout by default. It’s best advisable to include stylesheet file at the top and include your javascript file at the bottom.
Input
{{ 'sample/all.css' | stylesheet_link_tag }}
{{ 'sample/all.js'  | javascript_include_tag }}
Output
<link href="http://s-iw-frontend-statics.s3.amazonaws.com/assets/sample/all-396a44f50ea6d2a145af4133ae462f23.css" media="screen" rel="stylesheet" />
<script src="http://s-iw-frontend-statics.s3.amazonaws.com/assets/sample/all-e51819acbb5ab284ee3b45067e092be1.js"></script>
NOTE: You must namespace your assets directory so that it won’t conflict with assets in other themes.
JavaScript/StyleSheet Libraries
To ease the development, Yoolk InstantWebsite added assets-rails as dependency so that you can add any javascript and stylesheet libraries with versioning. Please, feel free to ask us to add more libraries.
sample/all.js.coffee
#= require bootstrap/v3.2.0sample/all.scss
@import "bootstrap/v3.2.0";This allows you to require javascript and stylesheet libraries with the exact version so that your frontend stuffs will continue to work as times passed by. The good thing about this gem is that you don’t have to copy those libries into your theme directories.
Multiple Styles
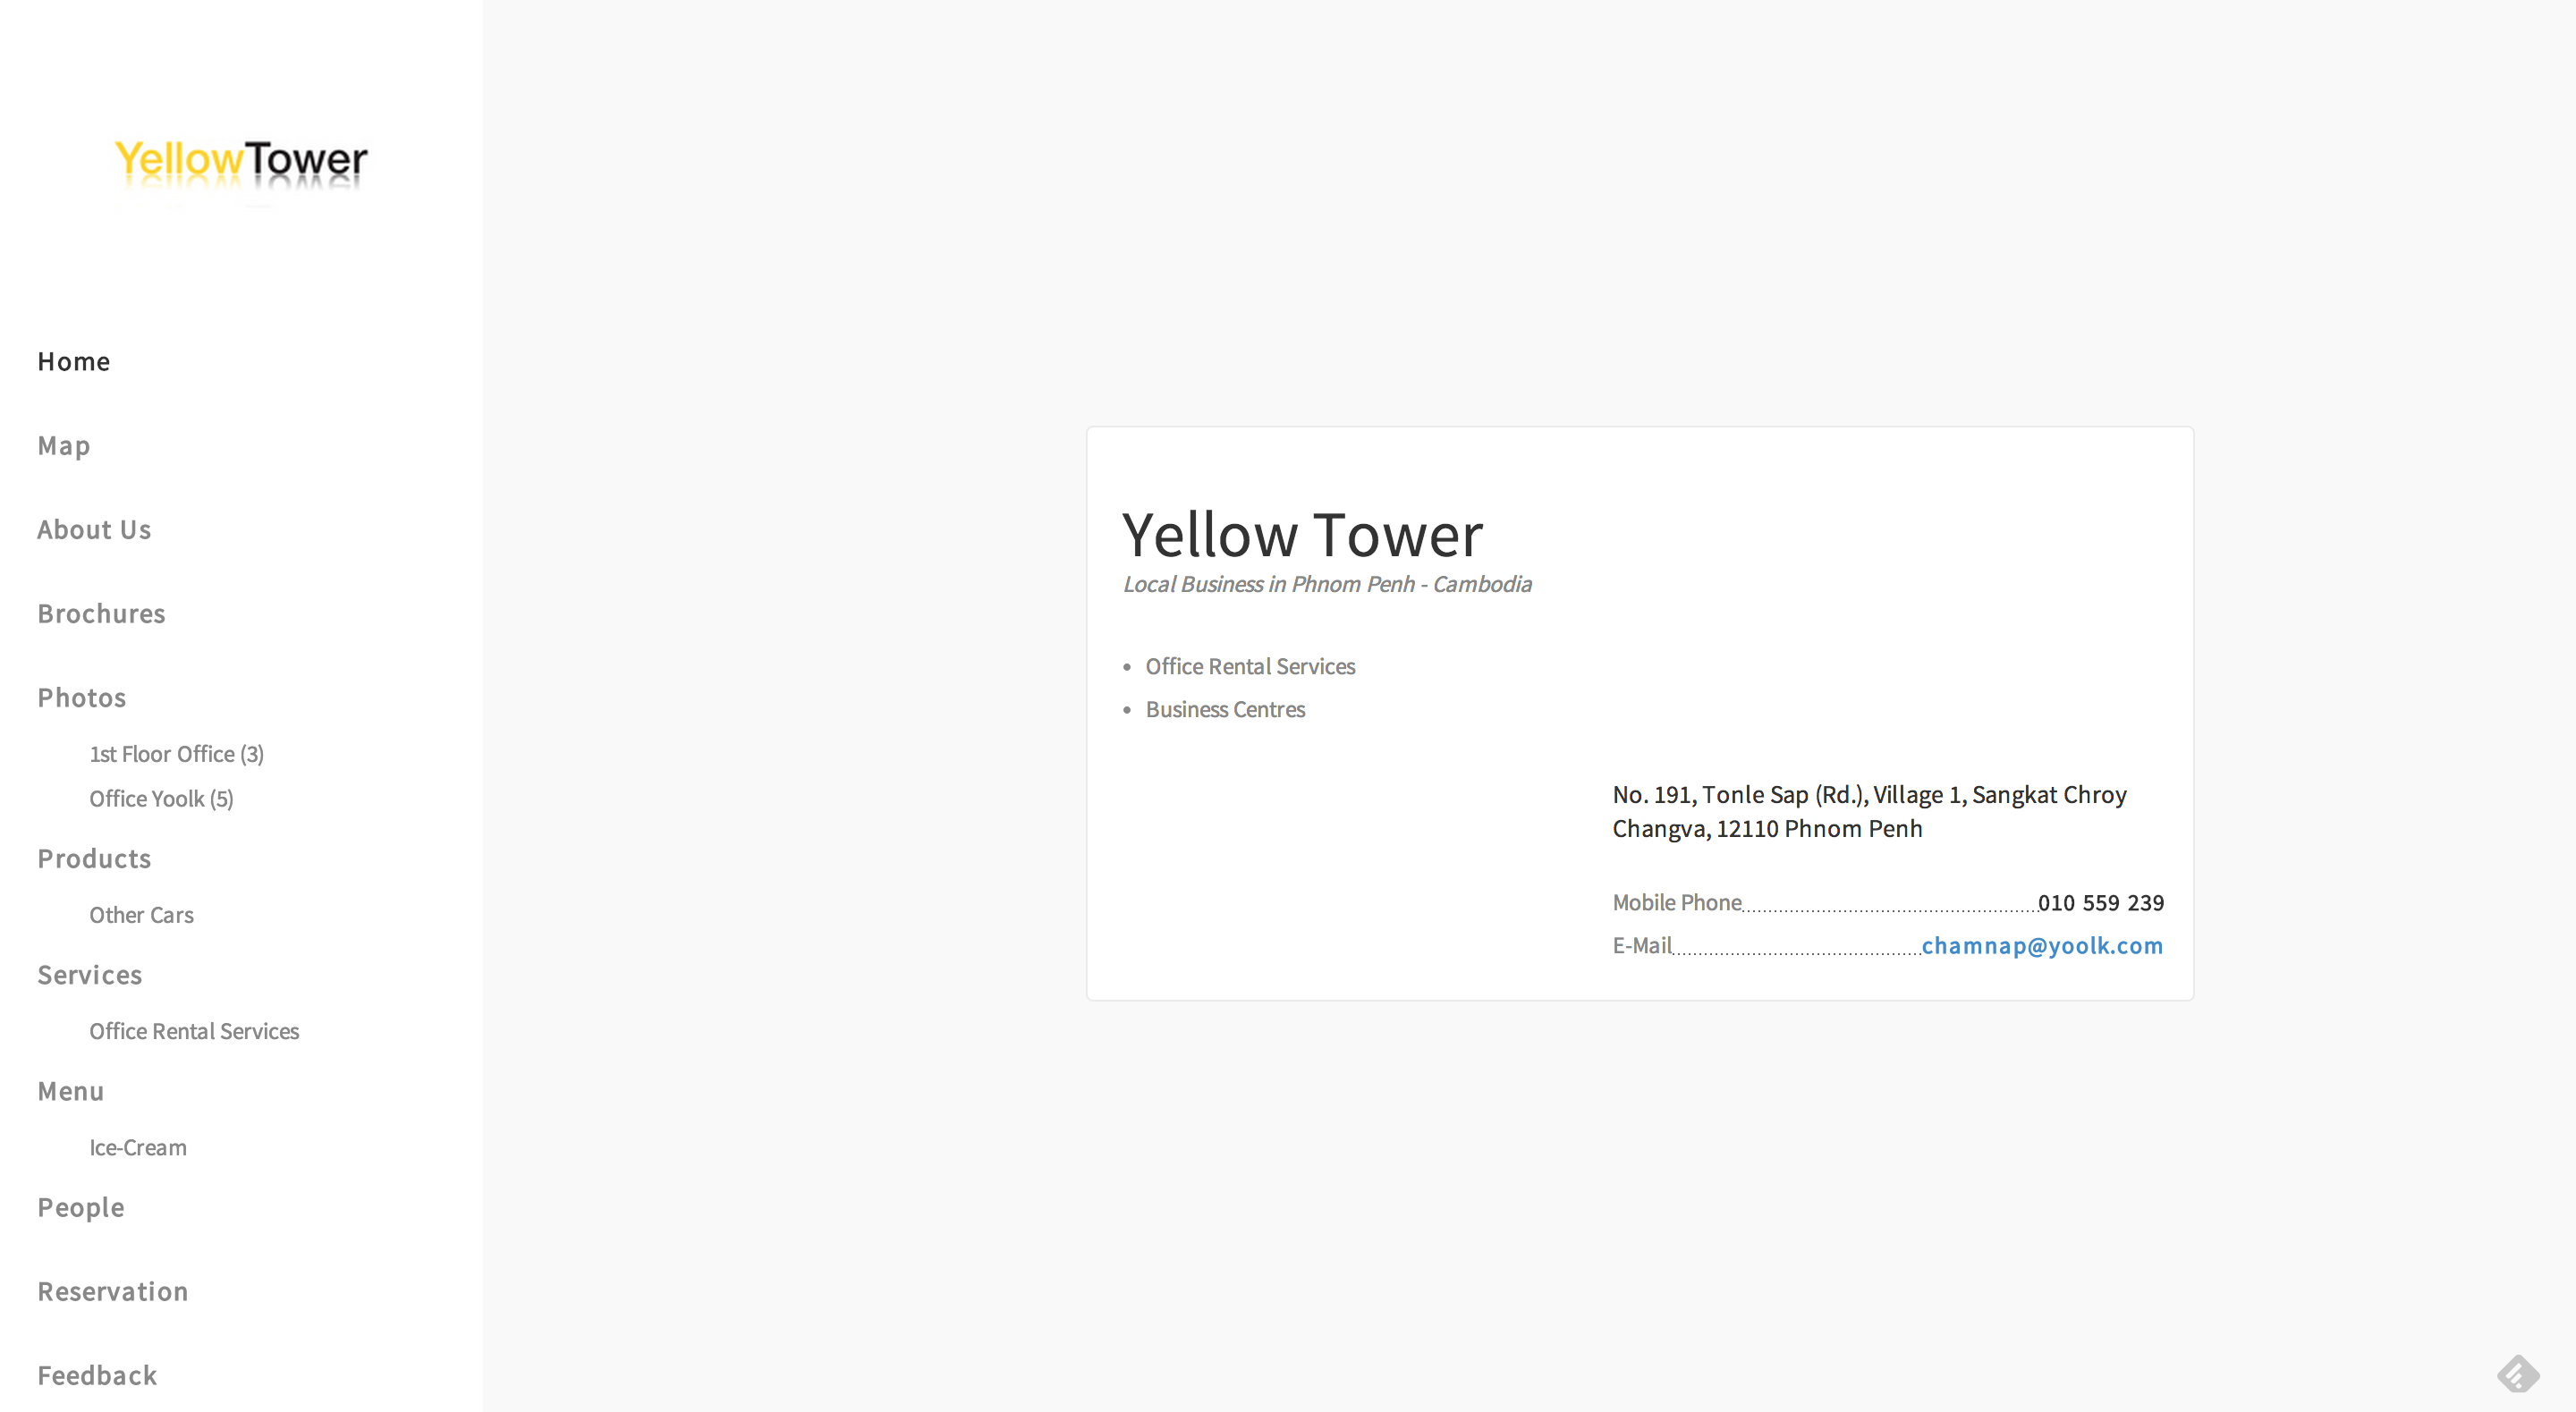
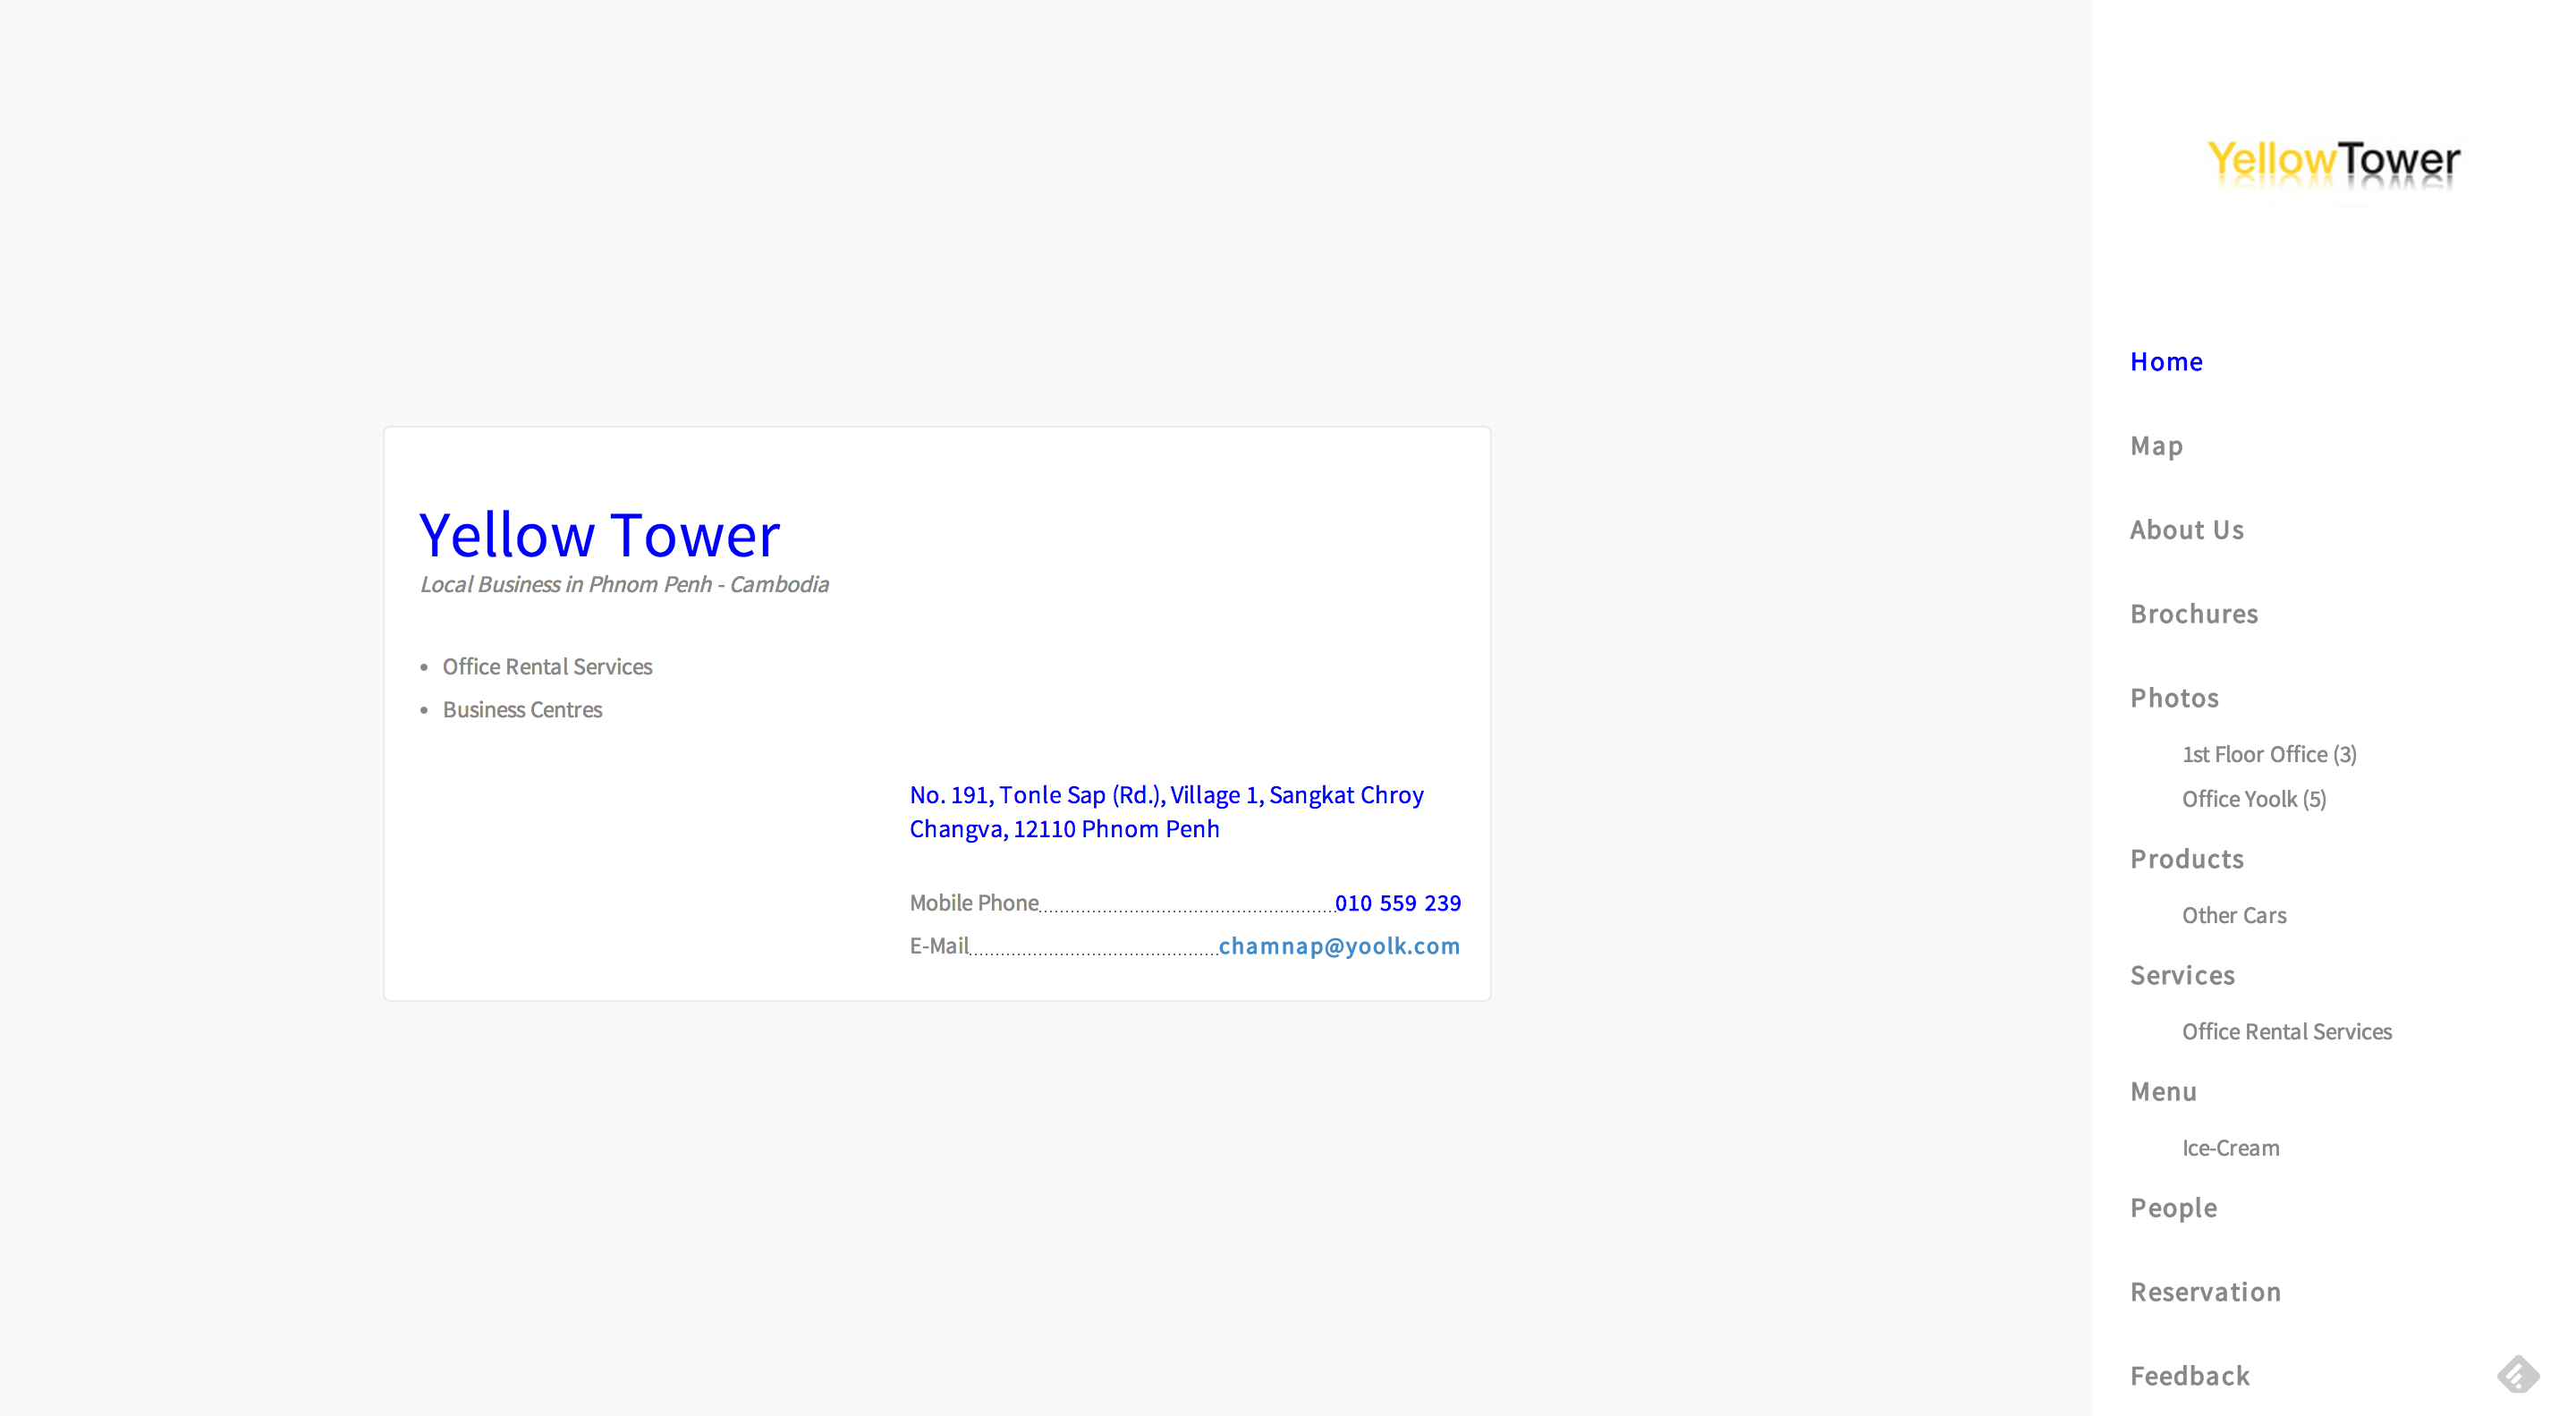
It’s possible to build a theme which have multiple styles. A style could be different from each other by css styling and html markup. Below is the screenshot from sample theme: gray and blue style.
gray
blue
In order to support multiple styles, you need to do two easy steps:
1-. Go to your theme layout file, update to use request.theme_style_url instead of hardcoding the css file. As you would guessed, we just need to switch the css file only. You could do the same thing for javascript files.
app/themes/sample/views/layouts/sample.liquid
{{ request.theme_style_url | stylesheet_link_tag }}2-. Let’s you have two styles: gray and blue. You need to implement two manifest files: all_gray.scss and all_blue.scss. I’ll take the sample theme as an example, here.
Be sure to check out these scss files inside the sample theme:
- app/themes/sample/assets/stylesheets/sample/all_gray.scss
- app/themes/sample/assets/stylesheets/sample/all_blue.scss
- app/themes/sample/assets/stylesheets/sample/shared/variables_gray.css.scss
- app/themes/sample/assets/stylesheets/sample/shared/variables_blue.css.scss
- app/themes/sample/assets/stylesheets/sample/sample.scss
As you could see, the differences between is just only the sass variables. Anyway, you could do as you wish. Inside your liquid templates, you could access to the current theme_name and style_name inside request object so that you could make your liquid templates a bit dynamic; for example, you don’t want to show cover photos in a specific style.
Note: You should delete all.scss file from your theme directory, as it’s useless now.